2_stroke
Member
- Joined
- Feb 24, 2017
- Messages
- 61
- Reaction score
- 19
- Points
- 8
- Age
- 45
- Location
- Dandenong
- Members Ride
- VZ SS
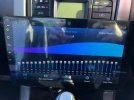
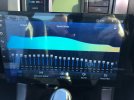
Doing a budget install in my vz ss I thought I would start a thread which may give light to others doing the same and save some pain. I’ll edit things when I get time with tips and hints.
So far the gear involves
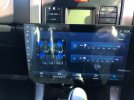
Eonon q03pro headunit
Ds18 6.5 component
Alpine s65 rears
Pioneer 8704 amp
Jaycar 1000w monoblock
Jaycar 2x150 reserve amp
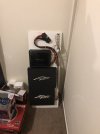
The amp rack I constructed will fit under the rear parcel shelf, I just resprayed the amps for cosmetic value as they were second hand. Atm only the mono and 4 Chen are wired via 4gauge going into 0/1 gauge distribution blocks. Speakers to terminal block for easy final install along with amp on wire. I wanted to maintain boot space while making future upgrades and changes easy.
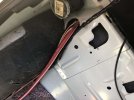
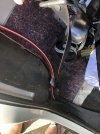
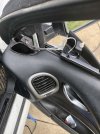
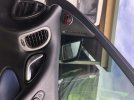
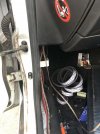
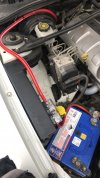
For wiring I have gone with a ds18 ofc 0/1 gauge kit, I removed the manual rubber grommet and cut a hole in it to fit it and re inserted it into the firewall. This passes through under steering around under kick board then under plastics all the way to back seat and into boot. And it fits fine there is plenty of room for a single 0/1 gauge run along with 12 gauge speaker wire and reverse cam, just take your time to make sure plastics are aligned and are not crushing anything with re fitting.
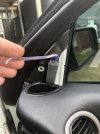
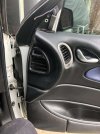
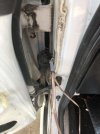
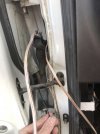
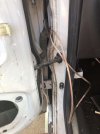
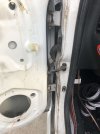
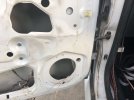
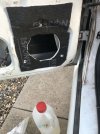
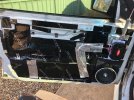
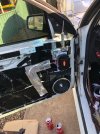
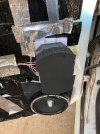
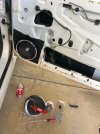
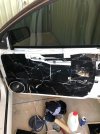
The front door skins removed and sound deadening placed inside and out. I used aerpro aps274f pods to fit my ds18 components as there 6.75 really and they needed some cutting. I used foam tape In between spacers and speakers, I also wrapped all wiring in it to prevent any rattling. I used a zip tie to thread crossover wire out to amp through rubber door grommets. With the rears I didn’t have as much luck and had to use a small section of factory loam which I’ll get to when I do the pass rear door as I didn’t take pics of the driver rear. When it comes to sound deadening remove any dirt and grease before applying with rubbing alcohol I used acetone which is a bit to aggressive. Work with small sections it’s not a display piece, though for perfection you can make cardboard templates. Use a roller to get out any air and make a good bond as well as save time.
Back with more when I get time
So far the gear involves
Eonon q03pro headunit
Ds18 6.5 component
Alpine s65 rears
Pioneer 8704 amp
Jaycar 1000w monoblock
Jaycar 2x150 reserve amp
The amp rack I constructed will fit under the rear parcel shelf, I just resprayed the amps for cosmetic value as they were second hand. Atm only the mono and 4 Chen are wired via 4gauge going into 0/1 gauge distribution blocks. Speakers to terminal block for easy final install along with amp on wire. I wanted to maintain boot space while making future upgrades and changes easy.

For wiring I have gone with a ds18 ofc 0/1 gauge kit, I removed the manual rubber grommet and cut a hole in it to fit it and re inserted it into the firewall. This passes through under steering around under kick board then under plastics all the way to back seat and into boot. And it fits fine there is plenty of room for a single 0/1 gauge run along with 12 gauge speaker wire and reverse cam, just take your time to make sure plastics are aligned and are not crushing anything with re fitting.

The front door skins removed and sound deadening placed inside and out. I used aerpro aps274f pods to fit my ds18 components as there 6.75 really and they needed some cutting. I used foam tape In between spacers and speakers, I also wrapped all wiring in it to prevent any rattling. I used a zip tie to thread crossover wire out to amp through rubber door grommets. With the rears I didn’t have as much luck and had to use a small section of factory loam which I’ll get to when I do the pass rear door as I didn’t take pics of the driver rear. When it comes to sound deadening remove any dirt and grease before applying with rubbing alcohol I used acetone which is a bit to aggressive. Work with small sections it’s not a display piece, though for perfection you can make cardboard templates. Use a roller to get out any air and make a good bond as well as save time.


Back with more when I get time

